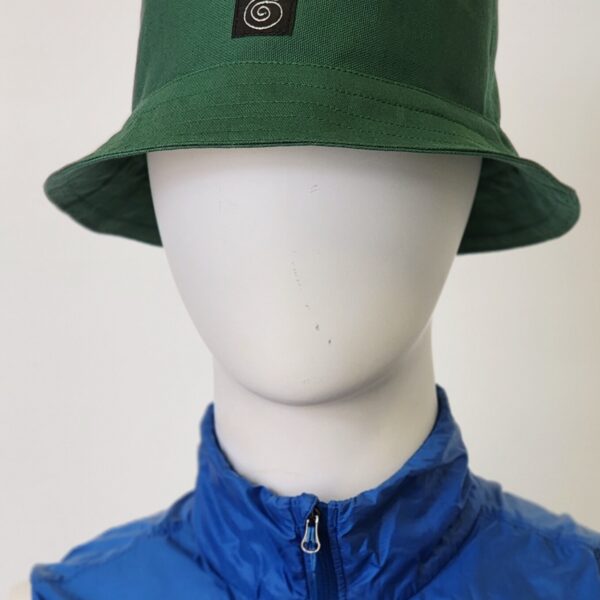
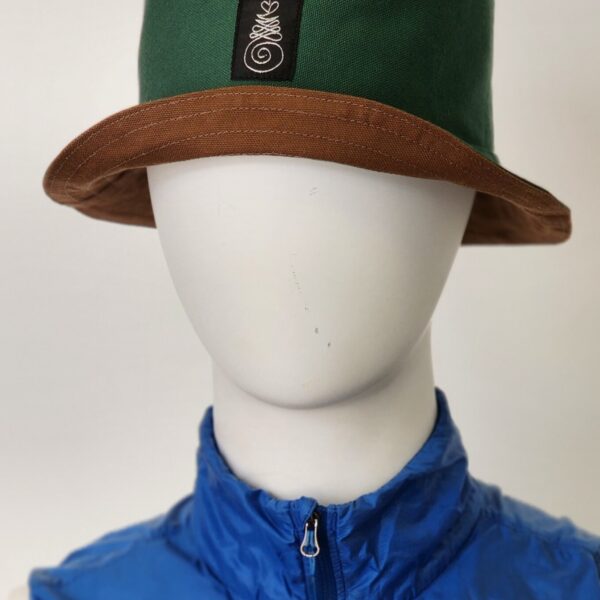
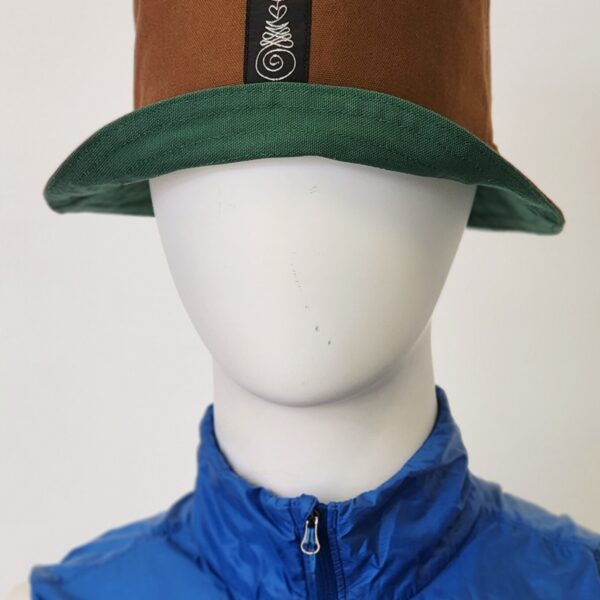
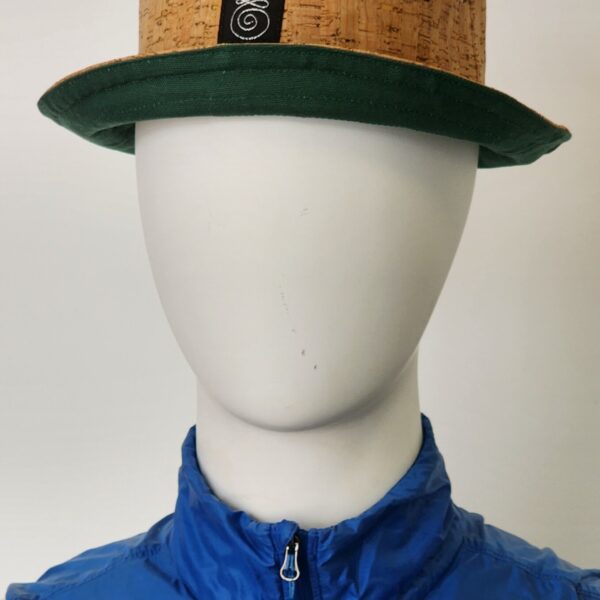
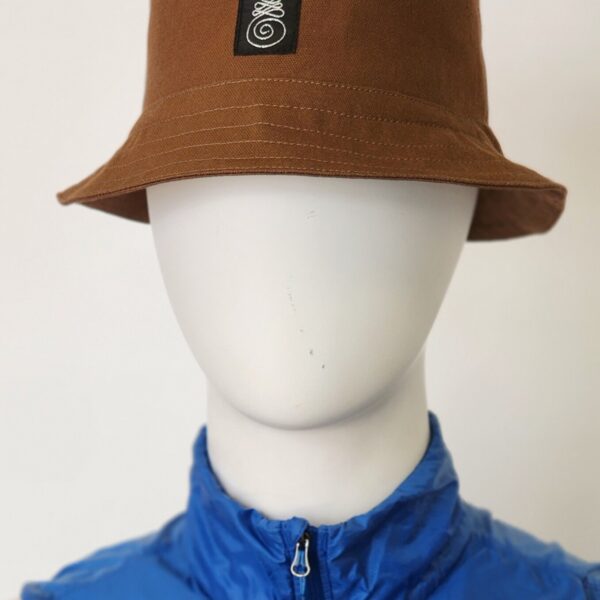
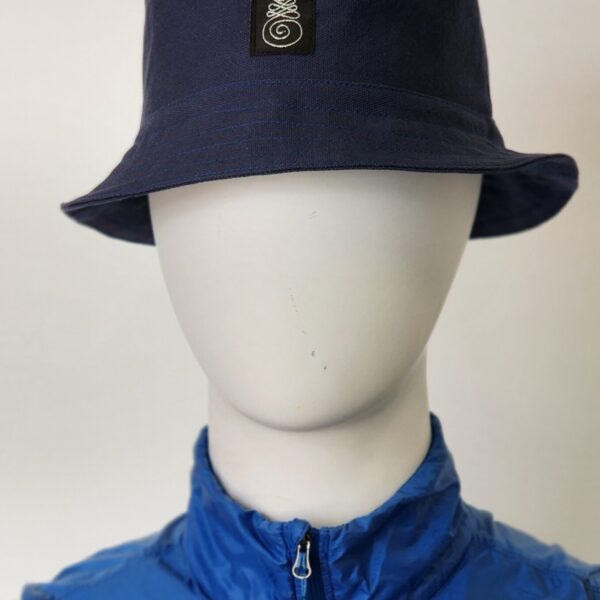
In order to get Unalome Outfitters off the ground, I need to make revenue in order to fund the raw materials for the offerings here at Unalome Outfitters. The only way is to obviously have stuff to sell on the site. Over the past few years, I’ve collected quite a few yards of fabric that needs to get used up in creative ways. Bucket Hat Drop – January 2023, here we go!
In my fabric stash, I found a few yards of some custom printed fabric I bought from Spoonflower (the print is no longer available on their site), a few yards of duck canvas from Joann, and some remaining yards of zebra print nylon from Discount Fabrics here in the Bay Area. Discount Fabrics is a great place to look for unique fabrics from surplus manufacturing projects. It’s a great way to try out new fabrics and learn how they behave as well as what to look for for future projects. In the future, I’m planning on making my own fabric prints to be used on these bucket hats and some up-cycled hats as well.
I didn’t have a lot of fabric to work with for this drop because I only wanted to use the remaining canvas fabric left over as well as experiment with some wilder patterns on the zebra bucket hats. This resulted in me deciding how many versions and sizes to make. Unfortunately, the bulk of this drop of bucket hats will be mostly mediums and larges.
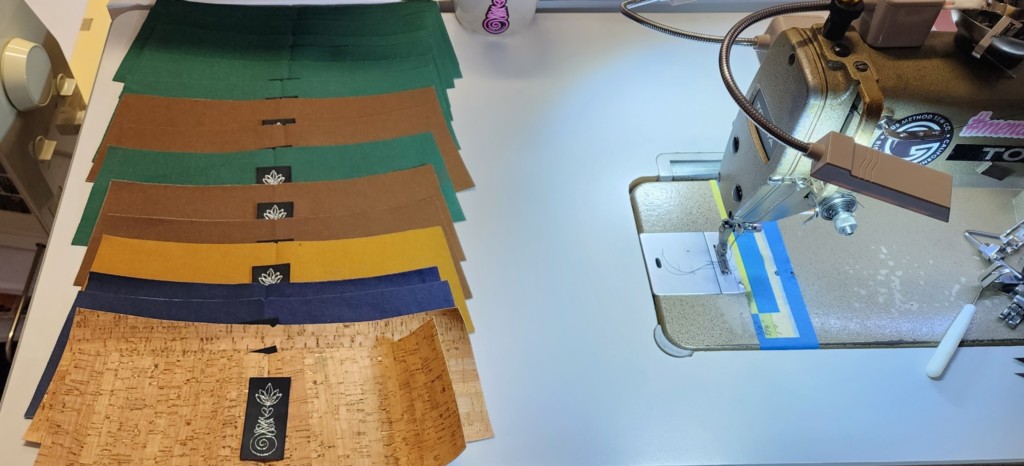
If you ask, “what’s the most painful step in sewing?” I’d have to say that cutting the fabric is one of my least favorite things to do. So many pieces that have to get cut up and organized. Right now, I’m using fabric scissors and rotary cutters, but I’m definitely eying the electric cutters down the road. It’ll be a time saver to stack fabric and cut multiple patterns at once. Plus, not to mention, less hand fatigue from using scissors!
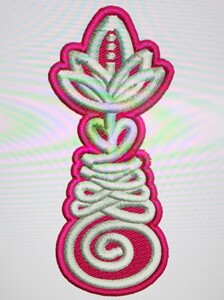
Once the pattern pieces were cut up and organized for each size, I picked out each of the front panels to affix the Unalome Outfitters logo label. Doing this for all the pieces saves time as well as keeps the manufacturing process for this part as consistent as possible since I’m not changing out thread colors or presser feet.
I don’t have a sewing machine with an automatic thread trimmer (it’s on my wishlist), so I have to manually trim the thread. In order to reduce the amount of times I have to stop and cut the thread for each piece I sew, I batched the pieces together and saved trimming the locked stitches at the end once the batch is done. Keeping each pattern piece together with all the different sizes was done by writing the size within the seam allowance. When you’re batch processing, you can easily lose track of the correct patterns if all the sizes look familiar. Luckily, I didn’t have to rip out any stitches because I matched a medium pattern piece with a large pattern piece.
Working with canvas requires a lot of ironing and re-ironing pieces once they have been sewn together. I spent a lot of time on the gravity feed iron to make sure that my pieces were as wrinkle-free as possible before moving onto the next manufacturing step. It definitely shows when you skip the ironing step.
This drop came together fairly quickly even though the work was splintered into small chunks of time I had during the week. I’m happy with what I made and look forward to coming back to this bucket hat pattern with some new fabrics, features and pattern alterations.
If you’re into bucket hats, thank you for checking them out and reading this blog post of what went into making them. If you know someone who would appreciate a unique bucket hat with a special meaning behind the logo and brand, please send them this way. Enjoy your Unalome!
